This seasonal tutorial shows you how to make your own DIY wooden Christmas lights spool using 8-inch round wooden plaques and dowel rods. The project takes just one hour to complete, and can be used year after year. An added bonus is that the spool can be replicated to store any number of home project materials, such as rope, flexible tubing, and chain.

Video of the Day
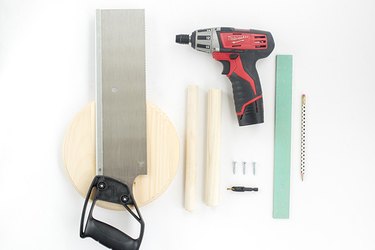
Things You’ll Need
-
2 wooden 8-inch diameter round plaques
-
1-inch diameter wooden dowel rod, pre-cut to 8 inches in length
-
3/4-inch diameter wooden dowel rod
-
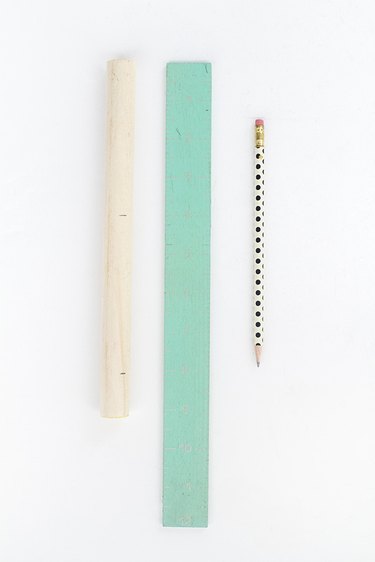
Pencil
-
Ruler
-
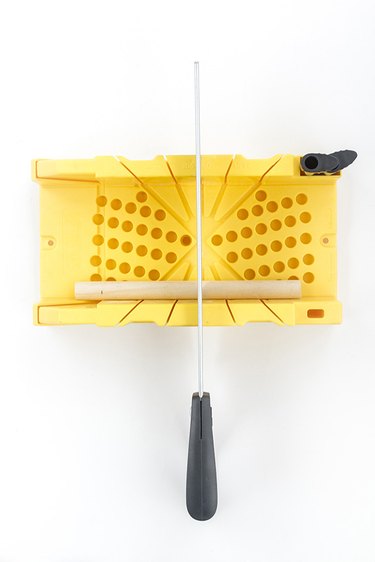
Miter box
-
Hand saw
-
150-grit sandpaper
-
4 #6 1-inch phillips head screws
-
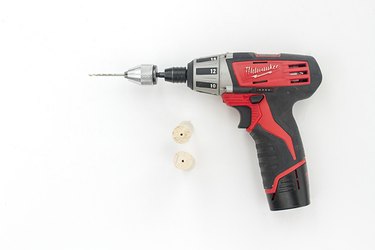
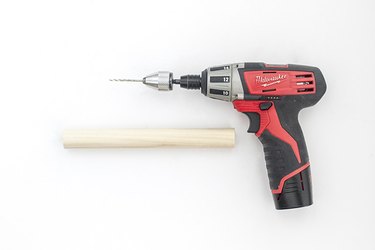
Power drill
-
3/32 drill bit
-
3/32 countersink bit
-
Wood glue
Step 1: Measure and Mark Dowel Rod Handles
Use a ruler and pencil to mark a 3/4-inch dowel rod every four inches. You will need two marks to create the pair of handles.
Step 2: Cut Down the Dowel Rod Handles
Lay the marked 3/4-inch dowel rod in a miter box. Use a handsaw to cut the dowel rod at the two marks. Discard the excess dowel rod and sand down the ends with 150-grit sandpaper if uneven.
Step 3: Pre-Drill Holes on the Handles
Stand the cut dowel rod handles up on a flat surface. Outfit a power drill with a 3/32 drill bit, and drill down into the center of one end of the first dowel rod handle. Repeat the steps on the second dowel rod handle. You will only need one pilot hole in each of the two handles.
Step 4: Add Pilot Holes to the Center Dowel Rod Support
With the same 3/32 drill bit still in the power drill, add pilot holes to the center of both ends of the 1-inch dowel rod.
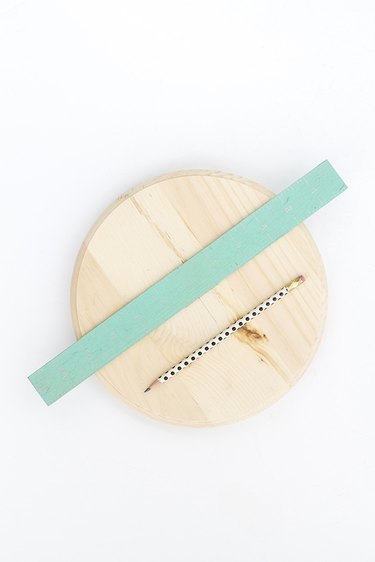
Step 5: Mark the Center of One Wooden Plaque
Lay a ruler on top of one of the two 8-inch wooden plaques. While holding the ruler up at the top of the plaque, swing the opposite end of the ruler slowly along the lower portion of the plaque to find the longest point. Once you find the longest point (should be roughly at the 8-inch mark), make a pencil line in the center of the ruler. Turn the plaque and make a perpendicular mark using the same method. This denotes the center of the plaque.
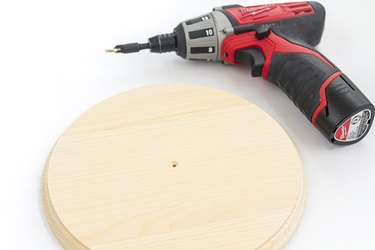
Step 6: Pre-Drill the Center of the Wooden Plaque
Lay the two plaques perfectly on top of one another with the marked plaque on top, and then drill through both plaques at once using the same 3/32 drill bit. When finished, add a 3/32 countersink bit to the drill, and add a countersunk hole on top of both pilot holes (the side that will be facing out when complete). This extra step will allow you to later sink the screw in the wood so that it's flush with the plaque.
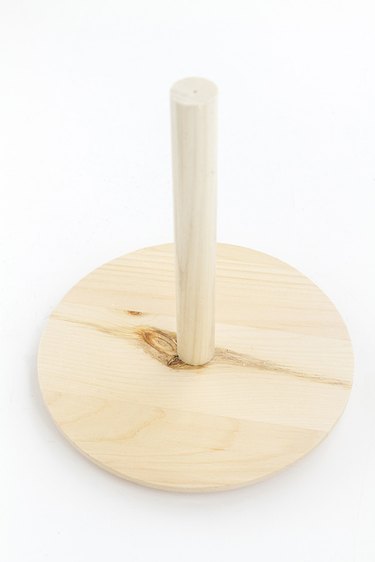
Step 7: Assemble the Center Support
Use the power drill to screw the center 1-inch dowel rod into both of the wooden plaques with two #6 1-inch phillips head screws attached from the outside.
Step 8: Drill and Screw in the Handles
On the outside plane of one wooden plaque, measure and mark a hole two inches in from the edge. Repeat the step on the other plaque, but on the opposite side to the first mark. This design will place your handles at different heights, making it simpler to spin the spool by hand. Put the 3/32 drill bit back on the power drill, and drill pilot holes through the marks you made. Then, use two more #6 1-inch phillips head screws to attach the handles securely to the spool from the inside.

Tip
If your power drill won't fit on the inside of the assembled spool to attach the handles, use a short-handled manual screwdriver to tighten the screws by hand.
Step 9: Inspect Lights for Damage
After taking your Christmas lights down at the end of the holiday season, lay them in an untangled line on the ground. Check them carefully for damage before putting in storage. Keep an eye out for frayed wires and burnt bulbs as you look along the lights strand. Discard if you see any damage to the electrical units, or replace broken or burnt out bulbs.

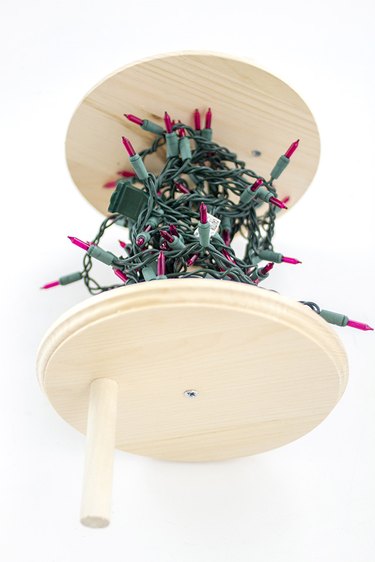
Step 10: Roll Christmas Lights Onto the Spool
To roll the inspected lights strand onto the spool, use your thumb to hold the end of the strand on the outside inner edge of the center support, and then slowly twist the spool until the lights cover the end of the strand. Then, grab ahold of the spool's handles and continue turning the spool until all of the lights are wrapped onto the dowel rod center.
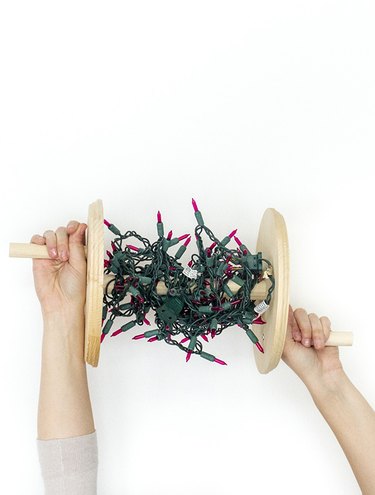
If you have multiple strands of lights, roll the first set onto the spool, keeping the layers to one end of the dowel rod. Then, repeat with your second strand of lights, keeping the layers to the opposite end. Store in a dry location indoors, and unroll the strand of lights from the spool next year to rehang the lights for a new holiday season.

