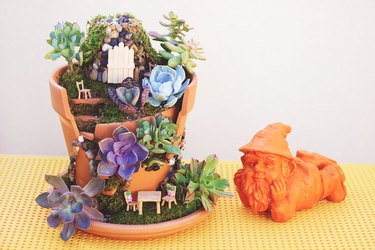
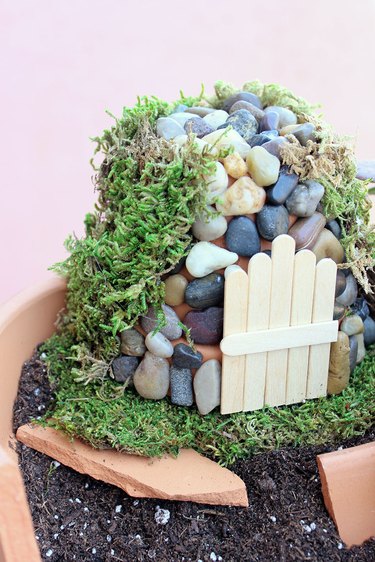
There's something both whimsical and magical about this miniature fairy garden made from a broken clay pot. The cracked pieces come together to form a multitiered garden, and the little house on the top, also made from a clay pot, is a charming abode indeed. You can almost imagine the fairies buzzing about in excitement as they tend to the garden.
Video of the Day
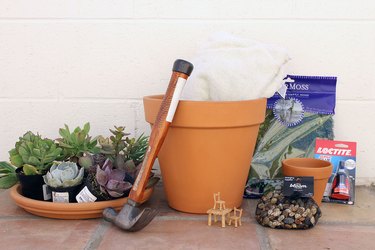
Things You’ll Need
-
Hobby knife
-
Craft sticks
-
Superglue
-
4-inch clay pot
-
River rock pebbles
-
Sheet moss
-
Hot glue gun (optional)
-
10-inch clay pot
-
Bath towel
-
Hammer
-
Eye protection
-
Loctite Power Grab adhesive
-
Potting soil
-
Succulent plants and/or flowers
-
Fairy dollhouse furniture
-
12-inch clay saucer
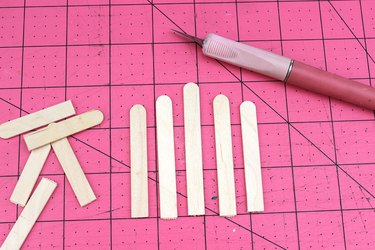
Step 1: Make the Miniature House
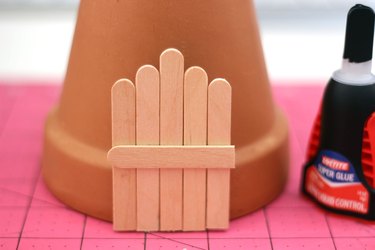
We'll start with the front door. Using a hobby knife, trim craft sticks so you have one piece that is 3 inches, two that are 2 3/4 inches and two that are 2 1/2 inches.
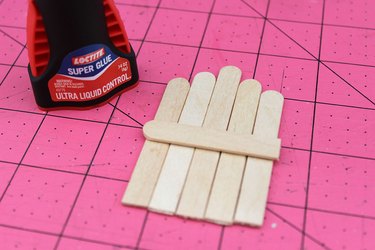
Line up the five trimmed craft sticks. Apply superglue to another craft stick and place it across the other craft sticks to adhere them. I used the leftover piece from one of the trimmed craft sticks.
Turn a 4-inch clay pot upside down. Glue the door to the brim of the clay pot, which is now on the bottom.
Glue river rock pebbles around the door using superglue. Because the pot is curved and the pebbles are uneven, you'll have to experiment with the best angle to position the pebbles. Once you get the right position, you'll know it because the superglue will lock it in place.
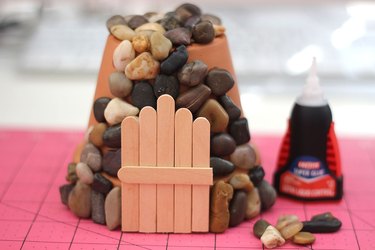
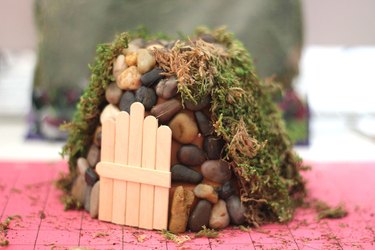
Glue sheet moss around any exposed sections of the clay pot. If you're having trouble with the superglue for this step because the moss is too loose, you can use a hot glue gun. The house is now finished. Let's set it aside for now.
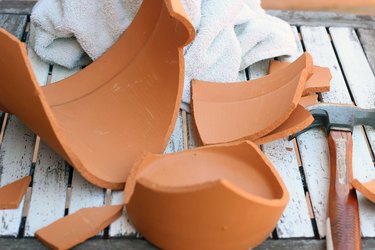
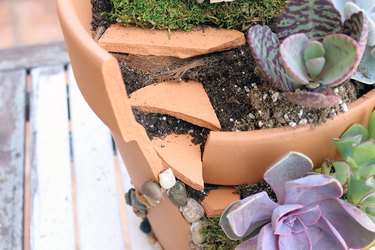
Step 2: Crack the Pot
Place a large bath towel in the clay pot, allowing one end of the towel to come out and cover the front of the pot.
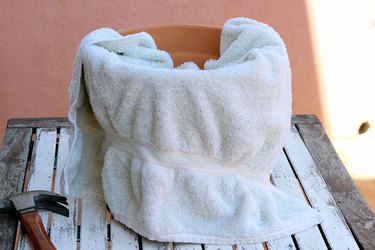
To break the clay pot, strike a hammer gently in the front where the towel is covering it. The towel helps to prevent the pot from breaking into too many pieces. Ideally, the pot is broken so that only an opening is carved out of the front. The reality is that it's very hard to control where the cracks are going to occur, as you can see from my example. But don't let the thought of breaking the pot stress you out. Even though the pot is in more pieces than we had intended, we'll just glue some pieces back together in the next step.
Warning
Wear eye protection to protect against any flying pieces of clay when you strike the pot with a hammer.
Step 3: Reassemble the Pot
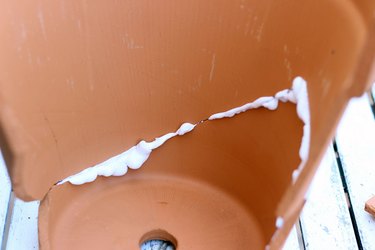
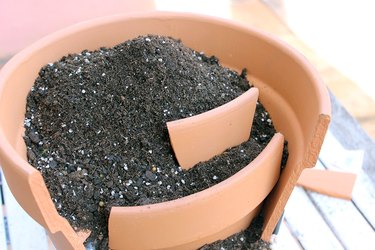
Figure out which pieces fit back together while still allowing a large opening in the front. For the pieces you want to rejoin, apply some Loctite Power Grab along the edges. It comes out like foam and is very easy to use because it stays in place.
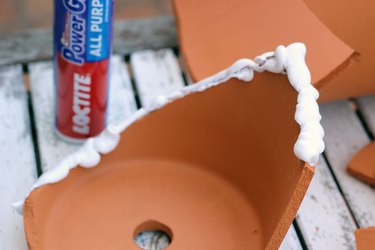
Place the adjacent piece on top of the piece with the adhesive and press them together firmly. It holds instantly but allows you to readjust for about 15 minutes if necessary.
Step 4: Cover Seams With Pebbles
Now, we're going to take advantage of the cracked seams to give the pot a rustic design element. While the adhesive foam is still wet, place pebbles along the adhesive. Just press the pebbles into the adhesive, and they stay in place. Let the adhesive set for 24 hours.

Step 5: Add the First Tier of Soil
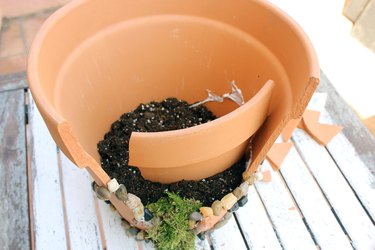
Scoop about 3 inches of potting soil into the pot. Stuff pieces of moss in any openings to prevent the soil from spilling out.
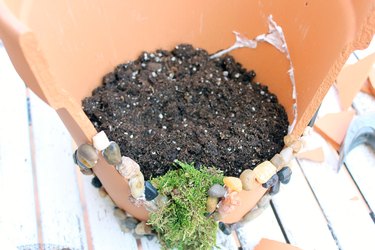
Position your largest broken piece of clay on top of the soil and stabilize it by wedging it in the soil. It also helps if one edge of the broken piece rests against the inside of the pot. If you want this piece to be higher, add more soil.
Step 6: Add the Next Tiers of Soil
Scoop more potting soil into the pot, going up to the level of the first broken piece.
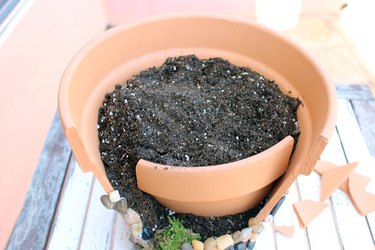
Wedge another broken piece into the soil and add additional soil that goes to the top of this piece.
Step 7: Place the House on Top
Position a piece of sheet moss on the top tier of soil and place the house on top of it. The moss acts as a foundation for the house and keeps it from sinking in the soil. You can also put a small piece of broken clay under the house to stabilize it.
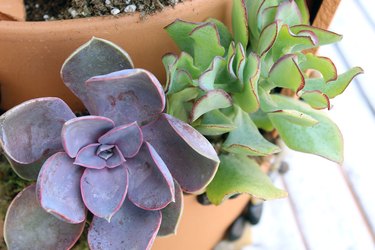
Step 8: Add Succulents
Add succulent plants to the soil. You can also plant flowers. I like using succulents because they are low maintenance and will stay relatively contained in the pot.
Step 9: Create the Stairway
Insert small pieces of broken clay into the soil to create a stairway that goes from the bottom tier to the top.
Step 10: Cover Openings With Moss
Cover loose soil with moss to help keep the soil in place. The moss also stabilizes the stairs.
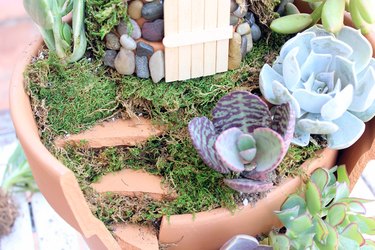
Step 11: Decorate With Furniture
Such a happy garden needs some outdoor furniture in which the fairies can relax. Position some fairy dollhouse furniture around the garden. Glue the pieces in place if your garden will be in a windy area, but it's most fun to leave them unattached so you can rearrange the furniture.

Step 12: Display on a Saucer
Place the fairy garden on a clay saucer. The saucer helps you move the fairy garden more easily and gives it a level surface on which to sit.

The saucer also allows you to add more elements so it appears that the garden overflows into the saucer. We're now ready for the fairies, but don't sit all day waiting for them to appear. They only do their magic when no one's looking.


