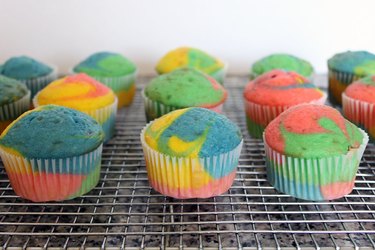
Tie dye is one of the hottest trends in fashion right now, so let's take this colorful look from the runway to the kitchen — with tie dye cupcakes. Not only is the cupcake itself a multicolored swirl of deliciousness, but so is the frosting. In fact, every cupcake has a different mix of tie dye colors and patterns. This could be the grooviest cupcake you'll ever bite into.
Video of the Day
Things You’ll Need
-
White cake cupcakes
-
White cupcake liners
-
Gel food coloring or icing dye
-
Popsicle sticks for mixing
-
Toothpicks
-
Buttercream icing
-
Piping bag
-
2D Piping tip
Step 1: Mix the Batter
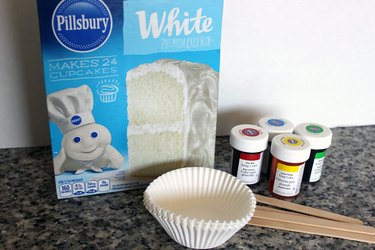
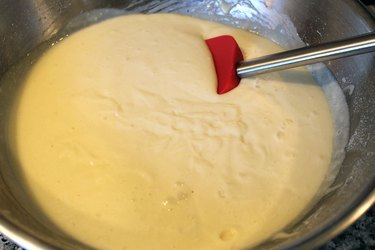
For the most vivid colors, you'll want a white cake that won't diminish the brightness of the dyes. You can use your own recipe if you have one, or use a boxed white cake mix like I did. Mix the batter according to directions.
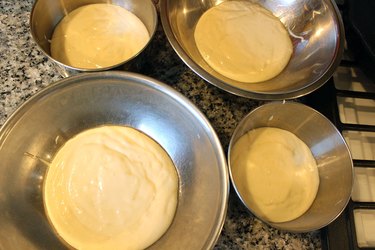
Step 2: Divide the Batter
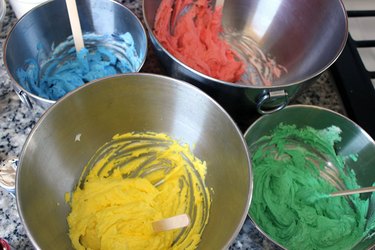
Divide the batter between four bowls, one for each color. I just eyeballed the amount in each bowl — it doesn't have to be exactly even.
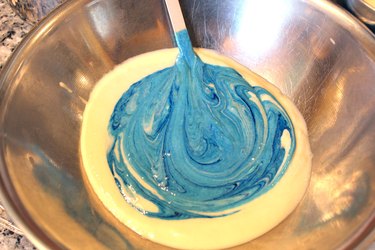
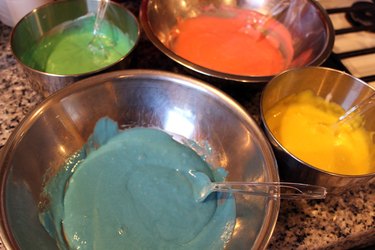
Step 3: Dye the Batter
Add a few drops of food dye to each bowl of batter. I chose blue, red, yellow and green. Choose gel-based dyes, which won't add more liquid content to the batter. You can find gel food coloring at the supermarket. I actually used dye for icing, which I found in the crafts store. Both will work fine. Mix the colors well with a popsicle stick.
To help scoop up any batter on the bottom of the bowl, a plastic spoon is also useful.
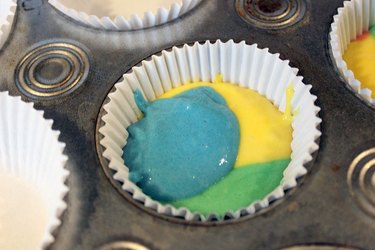
Step 4: Fill Cupcake Liners
Scoop a heaping teaspoonful of two colors of cake batter, and pour them side by side into a white cupcake liner.
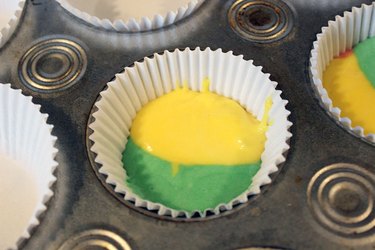
Scoop a heaping teaspoonful of the third color of cake batter, and pour it crosswise on top of the first two colors.
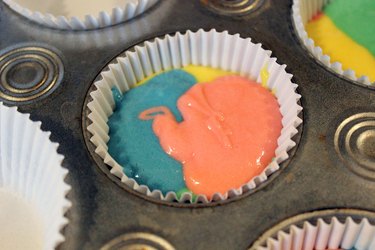
Scoop a heaping teaspoonful of the fourth color, and pour that next to the third color. Don't worry about being too careful, or if the colors mix a little. The "messiness" makes the finished cupcake look more like tie dye.
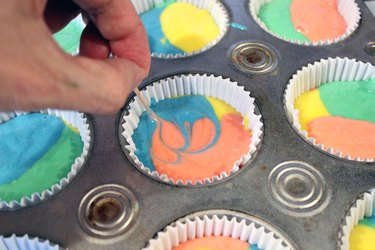
Take a toothpick and run it around the batter to mix up the colors a little more.
Step 5: Bake the Cupcakes
Bake the cupcakes according to the directions on the box or your recipe. Notice how I changed up the color combinations on each of the cupcakes so they would look more varied — and psychedelic.
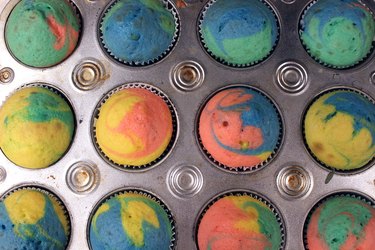
Here's why we use white cupcake liners. See how the colors of the cupcakes show through the sides when they're white!
Step 6: Make the Frosting
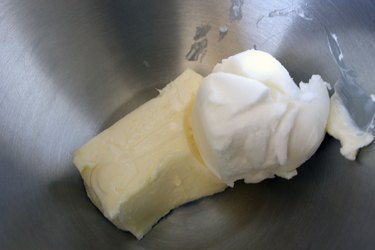
You can purchase a tub of frosting from the supermarket, but I like making my own buttercream frosting because it pipes so much better. I start by mixing one stick of unsalted butter with a half cup of vegetable shortening in a stand mixer. (You can use two sticks of butter and omit the shortening, but the shortening helps the frosting hold up in warmer temperatures.)
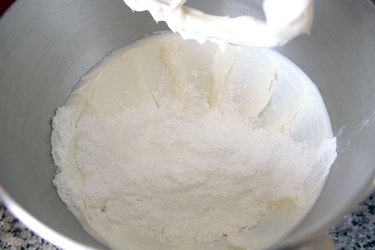
Slowly mix in four cups of confectioner's sugar in one-cup increments.
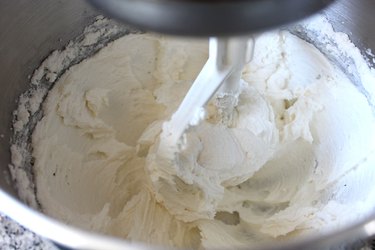
Add in a half teaspoon of salt and a teaspoon of vanilla extract. Then mix in water one tablespoon at a time until the frosting reaches the desired consistency. Most people use cream instead of water, but I prefer water since the frosting will be left out at room temperature, and I don't like the idea of the cream going bad. Taste-wise, you won't miss it.
Step 7: Divide the Frosting
As you did with the batter, divide the frosting into four bowls.

Step 8: Dye the Frosting
Using the same four colors you used in the batter, dye the frosting and mix well with a popsicle stick.
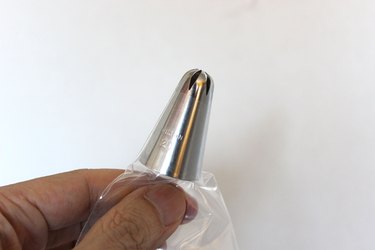
Step 9: Prepare the Piping Bag
Place a piping tip at the end of the piping bag, cutting off the tip of the bag to allow the tip to extend past it. You can use any piping tip you wish. I used a 2D tip so the frosting would look like rosettes.
Spoon one color of frosting along one side of the bag.
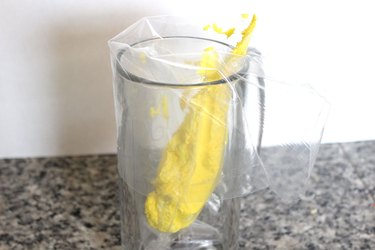
Then spoon the other colors around the sides of the bag. This step gets very messy as you try to get the four colors evenly around the bag. Don't worry about the colors lining up perfectly. The less perfect it is, the more it will look like tie dye.

Tip
In the beginning, you might have just one color at the tip because that color settled into the bag before the others. Just squeeze all the excess color into a bowl until multiple colors come out of the tip. Then spoon that first color back into the bag.
Step 10: Frost the Cupcakes
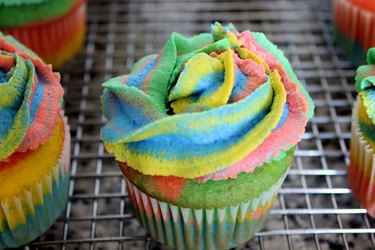
Twist the open end of the piping bag shut, and place the piping tip over the center of the cupcake. Squeeze the bag with firm, even pressure in a counterclockwise direction. I like to think of it as drawing a lower case "e" on the cupcake.

As you squeeze the frosting, the contents of the piping bag will continually change, in turn giving each cupcake a different tie dye color scheme.
The messy mix of colors in the piping bag results in a dizzying combination of tie dye variations.

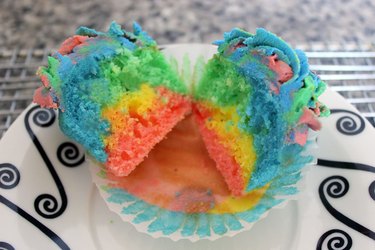
And when you cut into the cupcake, there is color galore from the frosting on down.
You've got to admit, these tie dye cupcakes are far out, man.


